Following these steps will help you to prepare and hang a gate successfully.
1. Getting started
Attach your 4"x2" wall posts (cut to size) level and to the correct height using a good solid fixing (we would recommend countersunk Thunderbolts but good screws/plugs work as well).
2. Attach the hinges
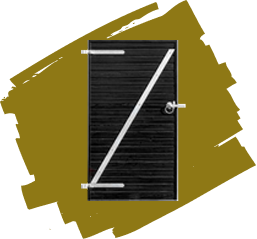
Screw your hinges onto the gate (we recommend galvanised T hinges to a length of at least 1/3 of the width of the gate) the short hinge should sit square inside the top & bottom of the gate so as not to extend above/below the wall post, and protrude no more than 2" from the side.
3. Position the gate
Using wedges at the sides and packers underneath, wedge the gate into position.
4. Attach the gate
Screw the short hinge side onto the 4"x2" wall post.
5. Screw on the catches
Screw any gate catches that need attaching to that side of the gate. You can also drill the hole for the Suffolk/ring latch at this point.
6. Check over gate
Remove the packers and wedges then check the gate opens with no problems.
7. Add the remaining catches
Fasten any catches Suffolk/ring latch etc. to the other side of the gate.
8. Fix the battens
Close all the catches, then nail the closing battens (cut to size) on each side into place onto the wall post up against the gate.
Last but not least...
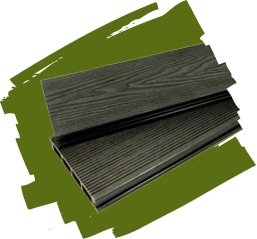
Sit back and plan the next project, possibly a nice new decked area?
